


Dental Handpiece Repair Guide

Jan
Essential Dental Handpiece Care: Why It Matters
Maximizing Lifespan and Patient Safety
Proper handpiece maintenance directly impacts equipment longevity and clinical safety. Regular care prevents premature failure and controls infection risks. Dental handpieces are precision instruments with internal mechanisms that require consistent attention. Neglecting maintenance leads to reduced performance, increased repair costs, and potential cross-contamination between patients. Following a systematic maintenance program protects your investment and maintains clinical efficiency.
Comprehensive Step-by-Step Maintenance Protocol
Cleaning Your Handpieces Effectively
Immediate Post-Patient Flush and Wipe
After each patient procedure, wipe external surfaces with a disinfectant cloth. Flush the handpiece waterline for 20-30 seconds to remove debris from internal channels. Use only clean, treated water for flushing. Wipe the exterior to remove visible contamination before it dries.
Detailed Internal and External Cleaning
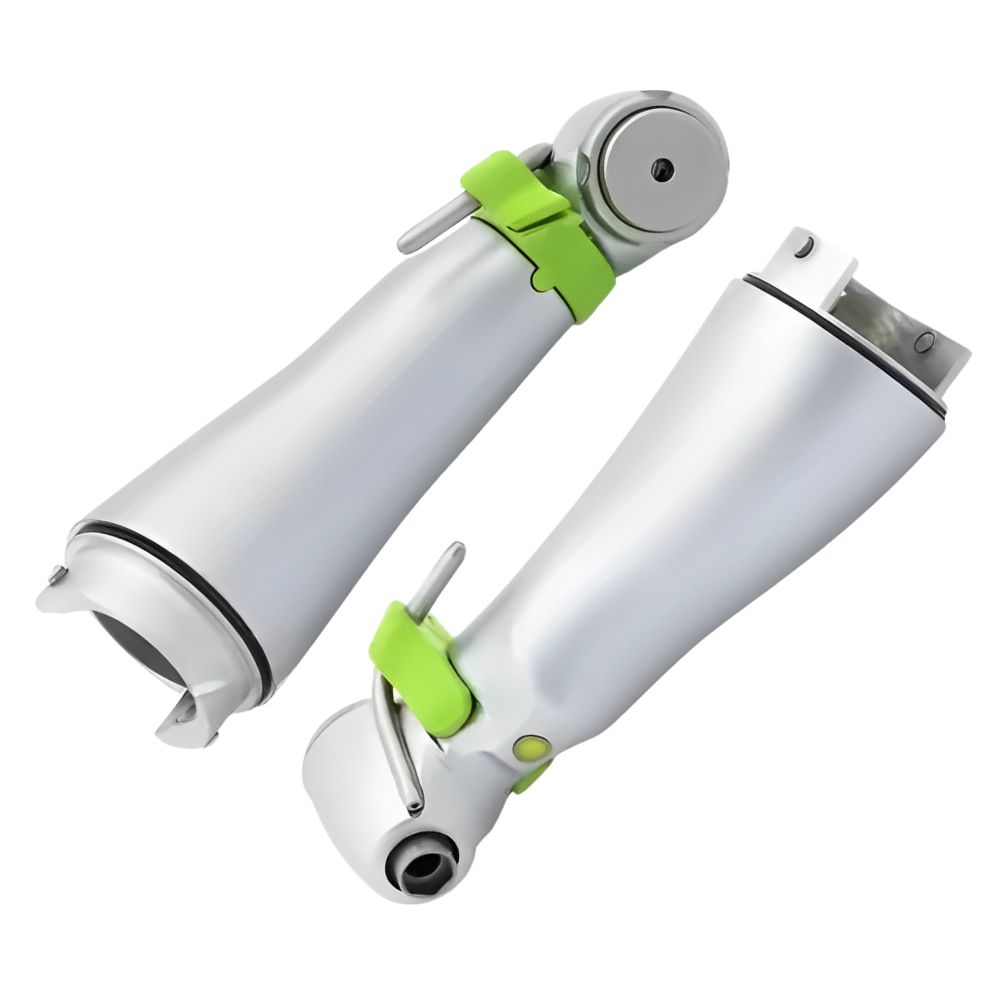
Disassemble removable components according to manufacturer specifications. Brush external surfaces with a soft-bristled brush and approved cleaning solution. For internal cleaning, attach cleaning adapters to flush water and air channels. Use enzymatic cleaners to break down biological material in internal passages. Clean the chuck mechanism with specialized brushes to remove debris around the bur retention area.
Proper Drying Techniques
After cleaning, dry all external surfaces completely with a lint-free cloth. Connect the handpiece to the dental unit and run it without water for 15-20 seconds to expel moisture from internal air lines. Allow the handpiece to air dry in a clean, low-dust environment before bagging for sterilization.
What to Avoid During Cleaning
Do not immerse electric motor components in liquids. Avoid using abrasive brushes that can damage handpiece surfaces. Never use harsh chemicals not approved for dental equipment. Do not apply excessive force when cleaning turbine assemblies. Avoid compressed air drying that can force contaminants deeper into mechanisms.
Read about:
Lubricating for Longevity and Performance
Choosing the Right Lubricant and Adapter
Select lubricants specifically formulated for dental handpieces. Use manufacturer-recommended products for each handpiece model. Verify compatibility between lubricant types and handpiece materials. Ensure you have correct adapter fittings for both high-speed and low-speed handpiece connections.
High-Speed Handpiece Lubrication Steps
Attach the lubricant cartridge to the handpiece using the appropriate adapter. Activate the handpiece for 2-3 seconds to distribute lubricant through turbine bearings. For oil mist systems, follow manufacturer-recommended duration for adequate lubrication. Apply a small drop of bur chuck lubricant to the chuck mechanism monthly.
Low-Speed Handpiece Lubrication Steps
Disconnect the motor from the handpiece when possible. Apply lubricant directly to drive mechanism according to manufacturer instructions. Rotate the handpiece manually to distribute lubricant evenly. Wipe excess lubricant from external surfaces before reattachment.
Purging Excess Lubricant
After lubrication, run the handpiece without a bur for 10-15 seconds over a waste container. This removes excess lubricant that could contaminate the surgical site. Continue until no visible mist emerges from the handpiece head.
Lubrication Frequency Guidelines
Lubricate high-speed handpieces after each sterilization cycle. Lubricate low-speed handpieces according to manufacturer recommendations, typically after each use or daily. Increase lubrication frequency with heavy clinical use. Follow specific intervals provided in equipment manuals.
Sterilization for Infection Control
Handpiece Preparation and Bagging
Ensure handpieces are completely dry before packaging. Use sterilization pouches appropriate for the autoclave type. Position handpieces to prevent contact with the pouch interior during handling. Seal pouches according to manufacturer instructions, leaving adequate space for steam penetration. Label pouches with date and cycle information.
Autoclave Cycle and Temperature Considerations
Use manufacturer-approved sterilization parameters. Most handpieces require steam sterilization at 121°C (250°F) for 20-30 minutes or 134°C (273°F) for 10-15 minutes. Verify autoclave calibration regularly. Place handpieces in autoclave trays without stacking or compression. Position pouches to allow steam circulation around all surfaces.
Ensuring Complete Drying and Cooling
After sterilization, allow adequate drying time within the autoclave. Most cycles include a drying phase of 20-30 minutes. Remove handpieces only when completely dry to prevent wicking contamination. Let handpieces cool to room temperature before use. Store in closed pouches until needed.
Troubleshooting Common Dental Handpiece Issues
Identifying and Resolving Malfunctions
Power Loss and Inconsistent Speed
Check air pressure supply from the dental unit. Verify regulator settings match handpiece requirements. Inspect hose connections for leaks or damage. Clean or replace air filters in the dental unit. Examine handpiece turbine for wear or damage requiring replacement.
Unusual Noise, Vibration, or Overheating
Immediately stop using noisy or vibrating handpieces. These symptoms often indicate bearing wear or turbine imbalance. Check for debris in the turbine assembly. Verify proper lubrication has been performed. Contact service technicians for internal inspection if symptoms persist after basic troubleshooting.
Chuck Mechanism Problems
For stuck burs, apply penetrating lubricant and allow time to work before attempting removal. Use proper bur removal tools to avoid chuck damage. For loose burs, inspect the chuck assembly for wear or damage. Clean chuck mechanism thoroughly before reassessment. Replace worn chuck components according to manufacturer specifications.
Water Spray Failures
Check the water supply from the dental unit. Clean waterline filters and check for kinks in supply tubing. Inspect handpiece water spray nozzle for mineral deposits or clogging. Use approved descaling solutions for waterline maintenance. Verify proper function of water control mechanisms on the dental unit.
Maintenance schedules should follow the manufacturer’s instructions. Keep detailed records of all maintenance activities. Regular professional servicing complements daily care routines. Proper maintenance reduces unexpected failures and extends equipment service life.
Frequently Asked Questions:
1. How often should I lubricate my dental handpiece?
Lubricate high-speed handpieces after every sterilization cycle. Lubricate low-speed handpieces daily or after each use, following the specific instructions in the manufacturer’s manual. Heavy clinical use requires more frequent lubrication.
2. Can I sterilize my handpiece in a chemical disinfectant instead of an autoclave?
No. Immersion in liquid chemical disinfectants can damage internal components. Steam sterilization in an autoclave is the only CDC and ADA-recommended method to achieve sterilization and ensure infection control for dental handpieces.
3. My handpiece is making a high-pitched whining noise. What should I do?
Stop using it immediately. This noise typically indicates bearing wear or turbine damage. First, ensure it has been properly lubricated. If the noise continues, the handpiece requires professional inspection and repair to prevent complete failure.
4. Why is there no water spray coming from my handpiece?
Check three areas: the dental unit’s water supply (for pressure and clogs), the handpiece’s waterline tubing (for kinks), and the spray nozzle at the head of the handpiece (for mineral buildup). Regular waterline treatment with approved solutions prevents this issue.
5. What is the most common mistake that shortens a handpiece’s lifespan?
Failing to purge the handpiece after lubrication. Excess oil left inside can carbonize during sterilization, clogging bearings and air channels. Always run the handpiece for 10-15 seconds over a waste container after lubricating to clear out residual oil.