


Dental Handpiece Replacement Parts
Keep your dental tools in top shape with genuine Dental Handpiece Replacement Parts. Getting the right handpiece replacement parts is key for precision, hygiene, and patient comfort.

Common Dental Handpiece Replacement Parts
A dental handpiece is a precise machine with many parts. Knowing which pieces commonly wear out helps you stay ahead on maintenance. Using the correct dental equipment spare parts keeps your handpiece running smoothly and safely.
Turbines and Cartridges
The turbine is the powerhouse of a high-speed handpiece, spinning the bur. Dental turbine replacement usually means changing the whole cartridge, which holds the bearings and rotor. A tired turbine causes power loss, noise, and vibration. Check these dental drill components regularly to keep performance strong.
Ceramic vs. Steel Bearings
Handpiece bearings are crucial inside the turbine. Ceramic bearings resist heat, last longer, and run smoother at high speeds. Steel bearings are more budget-friendly but may wear out faster with heavy use. Your choice affects how long the handpiece lasts and how it feels during procedures.
Chucks and O-Rings
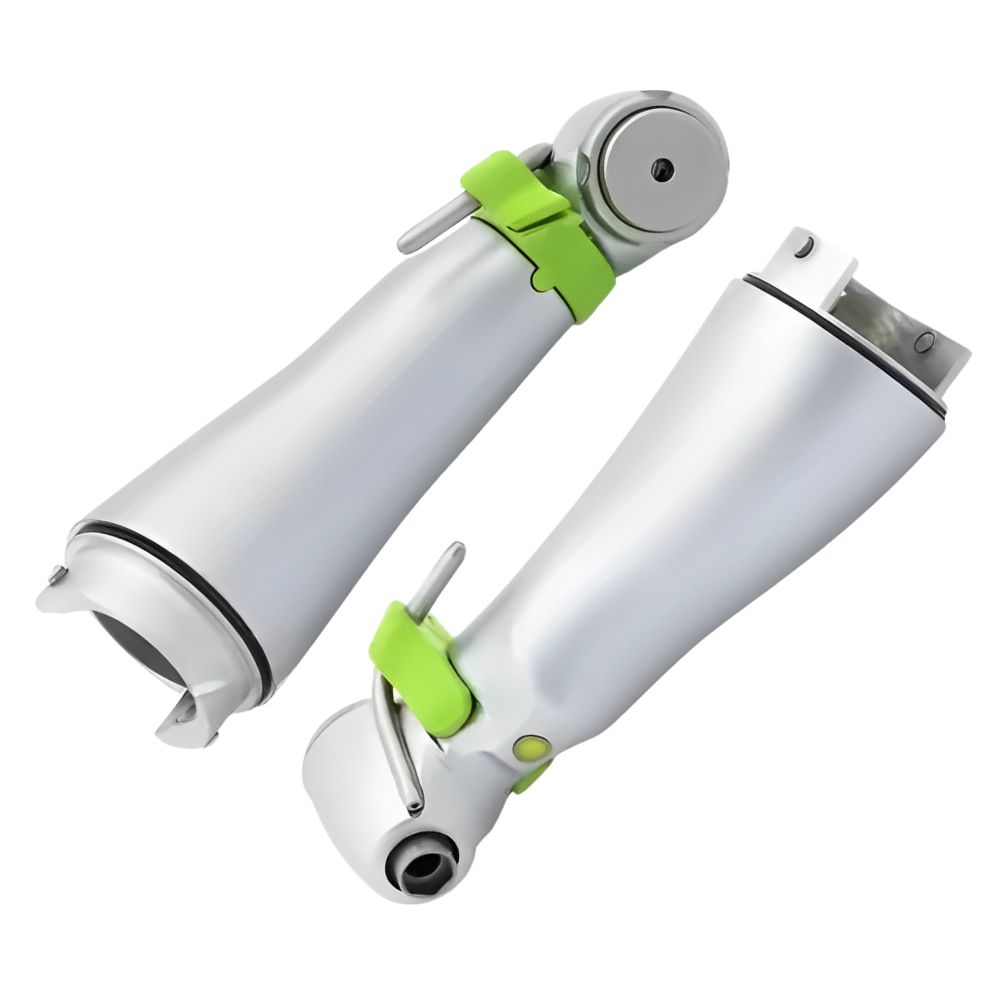
The chuck, including push-button chucks, handles chuck and bur retention. A faulty chuck can make the bur wobble or fall out mid-treatment. Handpiece O-rings and seals are tiny but mighty—they keep air and water pressure right and protect the handpiece water spray system. Worn O-rings cause leaks and contamination risks.
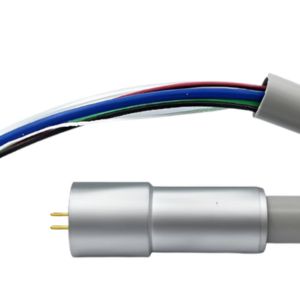
Fiber Optic Rods and Bulbs
For lighted handpieces, clear fiber optic light guides are a must for good visibility. These rods can crack or get dark over time, dimming the light. The bulbs or LEDs in the light source also burn out eventually. Swapping these parts brings full brightness back to your work area.
When to Replace Handpiece Parts

Replace parts early to avoid surprises during procedures. Spotting wear signs lets you schedule maintenance before a total breakdown. Adding part checks to your routine greatly extends your tool’s life.
Signs of Wear and Tear
Watch for power loss, strange vibrations, loud noises, or leaks from the head. Poor bur retention or a dim light guide are also red flags. These issues often point to specific dental handpiece repair parts that need a swap.
Impact of Regular Maintenance
Sticking with care routines, using dental handpiece maintenance kits, cuts down on major part replacements. Lubricating and cleaning after each use stops early wear on turbine cartridges and air motor stators. This habit is core to good handpiece autoclave maintenance.
Extending Handpiece Lifespan
Follow the maker’s schedule for part checks beyond daily care. Using sterilization caps for handpieces shields delicate parts during autoclaving. Easing up on pressure during procedures also reduces stress on internals like turbine blades and rotors.
Choosing the Right Replacement Parts
Picking the correct parts is just as crucial as installing them. The wrong piece can hurt performance, risk contamination, or damage the handpiece. Weigh quality, source, and fit carefully.
OEM vs. Aftermarket Parts
OEM parts come from your handpiece’s brand, ensuring perfect fit and function. Aftermarket handpiece replacement parts are from other companies and can save you money. Your choice often depends on how critical the part is and your budget.
Quality and Compatibility
Don’t skimp on quality, whether you pick OEM or aftermarket. Bad or mismatched parts can cause permanent harm. Always double-check dental bur compatibility and model numbers, especially for complex bits like the handpiece head assembly or dental contra angle parts.
Factors to Consider Before Purchase
Before buying, know your handpiece model and the exact part that failed. Think about the material, how long it should last, and the warranty. For core parts like bearings, spending more on better materials often means more reliability over time.
Where to Buy Reliable Parts
Buy from authorized dental suppliers or trusted specialty distributors. These sources for where to buy handpiece parts usually offer support and authenticity. Be cautious with unknown online sellers when buying critical dental equipment spare parts.
DIY Replacement vs. Professional Repair
Some part swaps are easy; others need a pro. Knowing the difference safeguards your investment and patient safety. A simple dental handpiece troubleshooting guide can help you choose your next move.
Basic Troubleshooting and Part Swaps
Many clinicians easily handle swaps like O-rings, light bulbs, or prophy angle heads. Jobs like how to replace a handpiece bearing are much trickier. Always use the maker’s guide and proper tools from a maintenance kit.
When to Seek Expert Help
For internal fixes involving turbines, motors, or small seals, use a dental handpiece repair service. They have the skills, special tools, and clean spaces to reassemble and balance high-speed parts correctly. This is vital after replacing air motor stators or turbine blades and rotors.
Tools and Resources for Replacement
A basic dental handpiece maintenance kit is essential for DIY care. It often has lubricant, chuck keys, O-ring picks, and sometimes wrenches. For tougher jobs, you might need cartridge press tools or bearing drivers. Online guides can help, but tricky repairs usually call for a pro—a big factor in the repair vs. replace handpiece choice.
Useful related reading:
- High-Speed
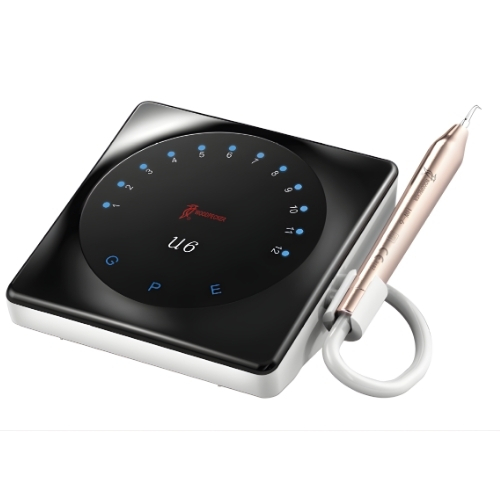
- Advantages of the LX16 PLUS Woodpecker Dental LASER
- learn more about what are carbide burs used for?
Read more:
| High-Speed Turbine vs. 1:5 Handpiece |
| Advantages of the LX16 PLUS Woodpecker Dental LASER |
| What are carbide burs used for? |
❓ Frequently Asked Questions
What are the most common dental handpiece replacement parts?
The most common handpiece replacement parts include turbines and cartridges, chucks, O-rings, and fiber optic rods or bulbs. These components are critical for maintaining the handpiece’s power, retention, seal, and visibility. Regularly checking these parts helps prevent performance issues.
How do I know when to replace handpiece bearings?
Signs you need to replace handpiece bearings include power loss, unusual vibrations, or loud noises from the handpiece. Ceramic bearings last longer and run smoother, while steel bearings are more economical. Choosing the right bearings is key for the longevity and feel of your instrument.
Why is it important to use genuine handpiece replacement parts?
Using genuine handpiece replacement parts ensures precision, hygiene, and patient comfort during procedures. Non-genuine parts can lead to poor performance, leaks, or contamination risks. The correct dental equipment spare parts keep your handpiece running smoothly and safely.
What issues do worn O-rings in a dental handpiece cause?
Worn handpiece O-rings and seals can cause air and water leaks, leading to pressure loss and contamination risks. They are vital for protecting the handpiece water spray system. Replacing them promptly maintains proper function and hygiene.
How does regular maintenance affect the need for handpiece replacement parts?
Regular maintenance with dental handpiece maintenance kits significantly reduces the frequency of major part replacements. It helps you spot early signs of wear, like poor bur retention or a dim light guide. This proactive care extends your tool’s operational life and prevents mid-procedure breakdowns.
💡 How to Replace Dental Handpiece Parts
7 Steps
- Identify the Worn Part
Diagnose the issue by checking for common signs of wear like power loss, unusual noise, vibration, or leaks. Inspect specific components such as the turbine, chuck, O-rings, or fiber optic rods to pinpoint the exact part needing replacement. - Source Genuine Replacement Parts
Always purchase genuine, manufacturer-approved dental handpiece replacement parts. Using correct parts ensures precision, maintains hygiene standards, and guarantees compatibility for safe and effective operation. - Prepare Your Workspace and Tools
Gather the necessary tools, such as wrenches or picks from a maintenance kit, and ensure a clean, well-lit area. Have the handpiece manual available for reference and organize all new parts before starting the disassembly. - Safely Disassemble the Handpiece
Carefully take apart the handpiece according to the manufacturer’s instructions. Pay special attention to small components like O-rings and seals to avoid damage, and keep parts organized to ensure correct reassembly later. - Install the New Component
Replace the old part with the new one, ensuring it is seated correctly and securely. For critical components like turbine cartridges or chucks, follow torque specifications if provided to avoid over-tightening or under-tightening. - Reassemble and Test the Handpiece
Put the handpiece back together, making sure all seals and O-rings are in place. Perform a functional test without a bur to check for air/water leaks, proper spray, and smooth operation, listening for any abnormal sounds. - Perform a Final Bur Test and Clean
Insert a bur and test retention and rotation under power. After confirming proper function, clean and sterilize the handpiece according to protocol before it is ready for clinical use with a patient.