Bien Air Handpiece Repair [ Video ]
Jan
VIDEO how to repair dental handpiece Bien Air Turbines
Today we will dive into repairing Bien Air Dental Turbine which is specific for almost all Bien Air Turbines.
A lot of people are asking us to make some video guides and because a lot of people have a lot of questions, are asking about how to replace Dental turbine rotors on BIEN AIR High-Speed Dental Turbine Handpieces. So this is one of a series of video series that we will place on YouTube regarding replacing Dental turbines. Let’s first explain that Bien Air developed, quite a specific push button which is different from other brands like KAVO, SIRONA, W&H, and others where the push button is made from one piece.
Bien Air Turbine Handpiece Repair
What makes repairing the Bien Air Turbines vs KaVo, W&H, Sirona, or other well-known brands?
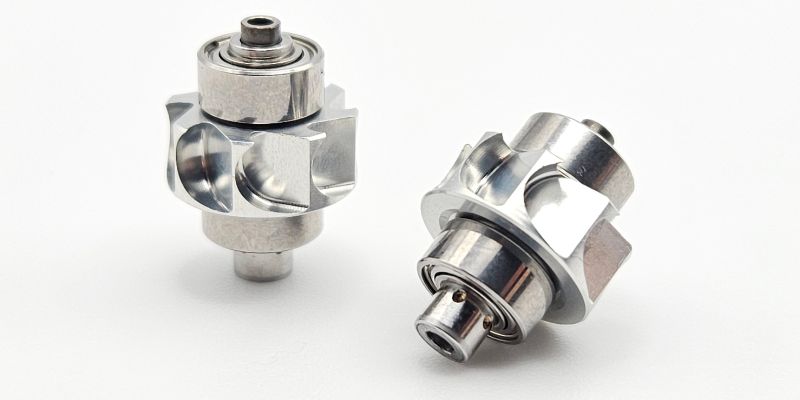
On all Dental Highs speed Turbines when you unscrew them you can see that are composed just of one piece, but on the Bien Air Turbine it’s composed of four pieces and this makes it a little bit more difficult to serve and requires more professional skills to adjust to as to disassemble also to assemble because this push buttons are assembled on Loctite glue.
Disasemble Process
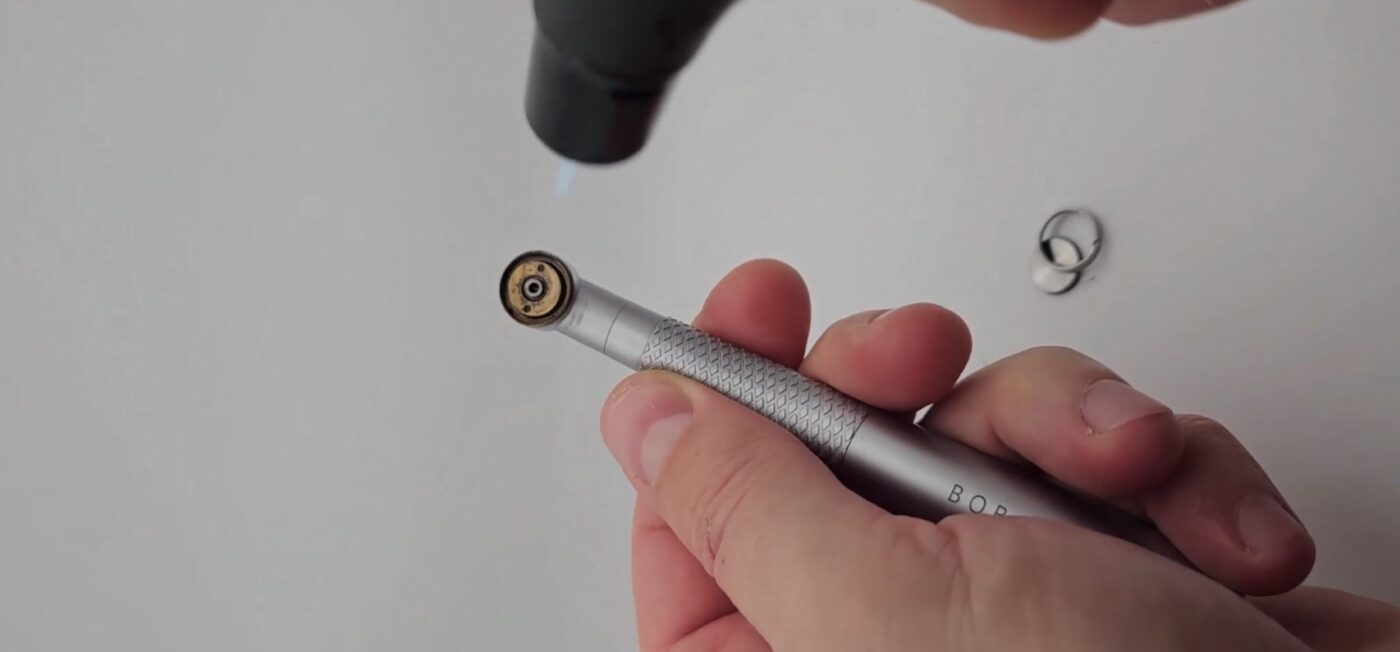
We are starting heating a little bit the Press button zone a because the Back Caps on Bien Air turbines are glued with special Loctite glue and heating makes easier process of unscrewing and do not damage the original Back Cap. You can use the same tool that we show in this video or an electric heating gun which you can buy in every store selling home tools.

So when you heat the components that are glued then it becomes much easier to unscrew much easier because the glue is heating and becomes more elastic. Heating up saves also the original Bien Air external back cap and internal back cap and avoids breaking them because it is made from copper and it is softer in comparison to steel.
On all Dental Highs Speed Turbines when you unscrew them you can see that are composed just of one piece, but on the Bien Air Turbine is composed of four pieces and this makes it a little bit more difficult to serve and requires more professional skills to adjust to as to disassemble also to assemble because this push buttons are assembled on Loctite glue.
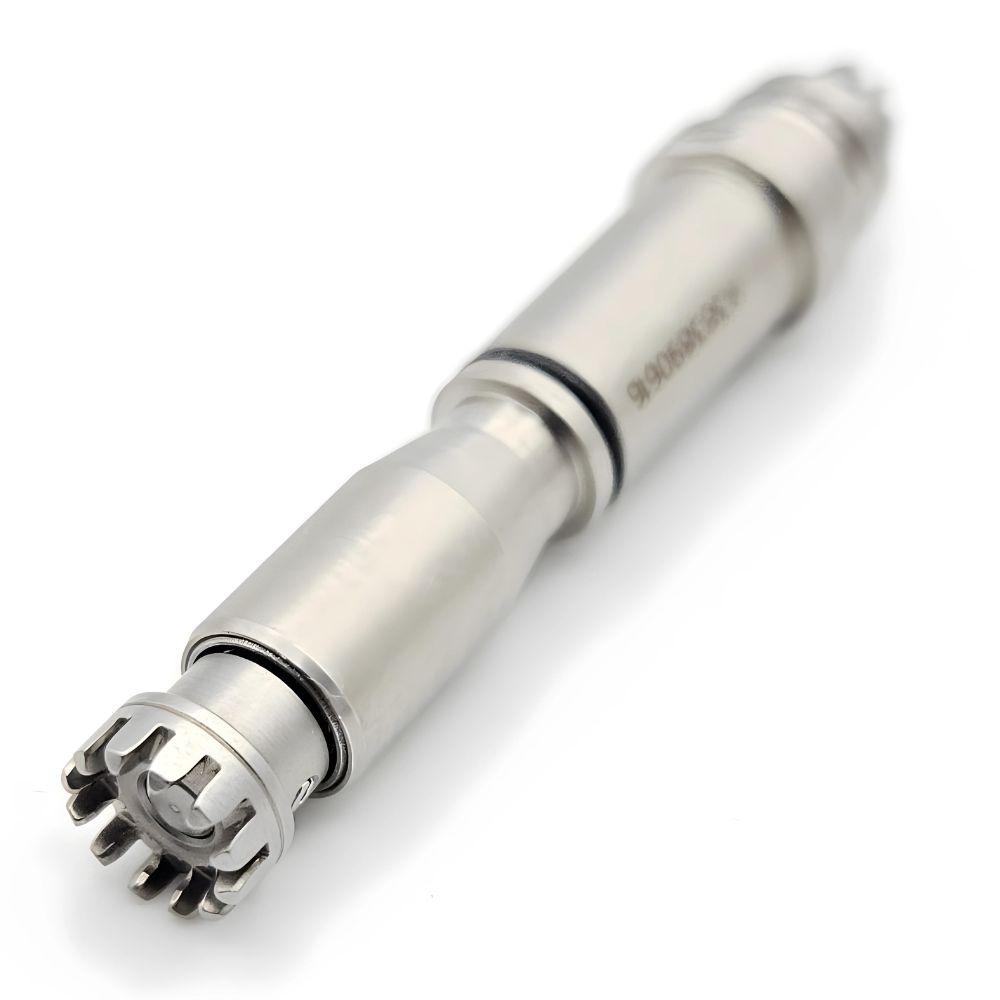
Our company with our Partners developed a new push button that has the same technical properties and is composed just of one piece which makes it much easier to service high-speed handpieces from Bien Air.
So let’s get started and we will explain to you in detail how to replace Dental turbines, and how to repair high-speed handpieces from Bien Air.
Unscrewing the Back Cap
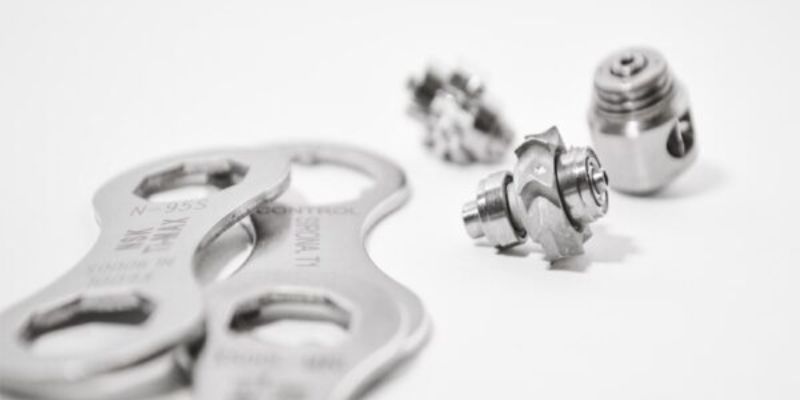
After heating the Back Cap of the Bien Air Turbine we unscrew it counterclockwise with a Wrench that can be purchased on our online store here.
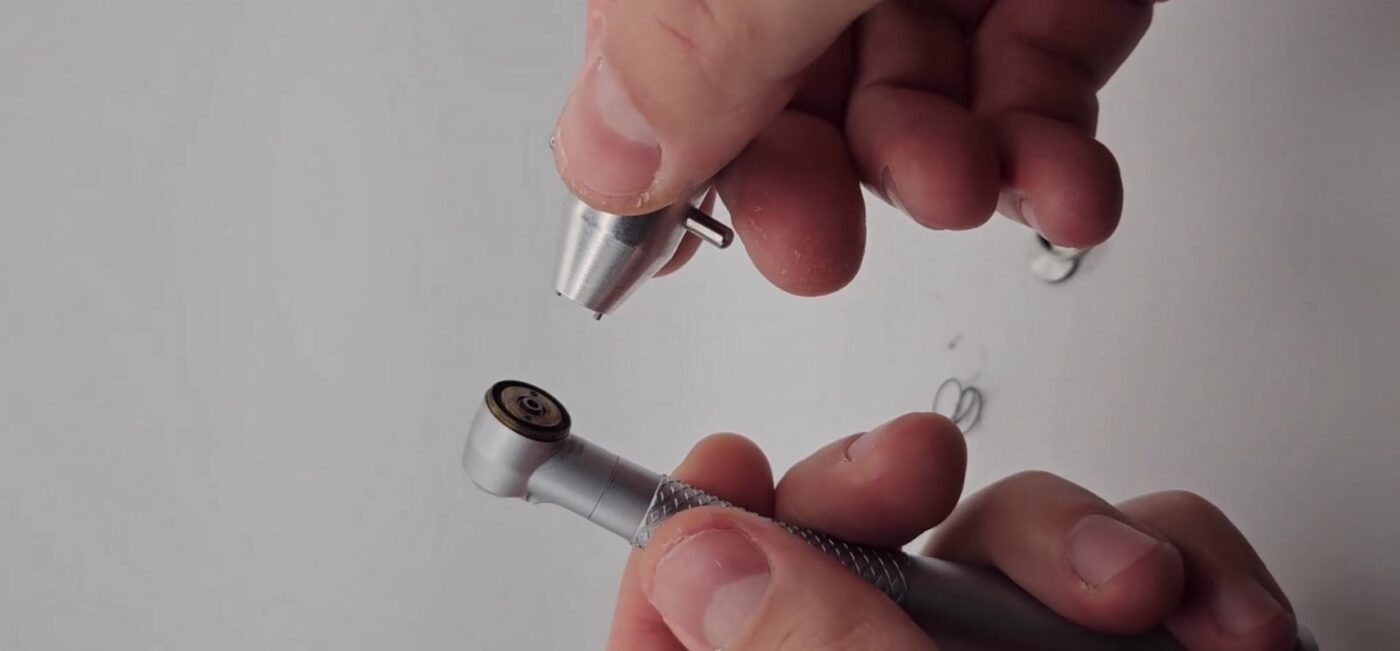
internal parts of the Bien Air Push button after unscrewing the external part of the Back Cap/Press Button
You can buy the same non-original parts on our store here like the external part of the press button, spring, and inner cap.
Cleaning Back Cap internal Parts
We must clean all internal parts very well because all of the dirt, powder from teeth, and saliva is coming and spreading across the head of the turbine.
Heating Inner Cap
Repeating the process of heating the inner cap same as the external Back Cap because it is also glued with Loctite glue and this part is more fragile and could break while forcing it to be extracted with a special wrench
Unscrewing inner cap
To unscrew the original inner cap you need a special tool/ special wrench purchased from Dental Rotors Online Shop.
You will need this tool for the original inner caps or in the future, with other parts you can use it to unscrew and screw our compatible push button. read below and you will see the difference.
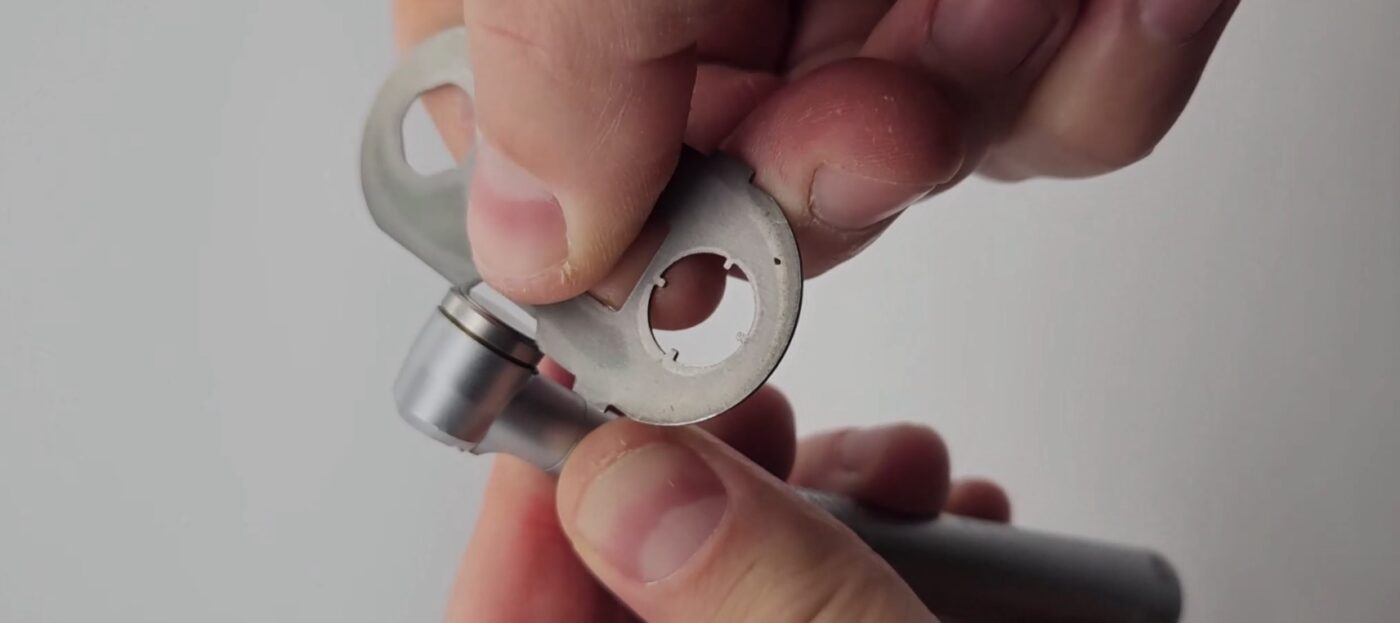
After unscrewing the Back Caps you see that it is composed form 4 parts as External Back Cap (two parts), Spring, and inner cap and this forms one push button/press button.
Extract of Parts
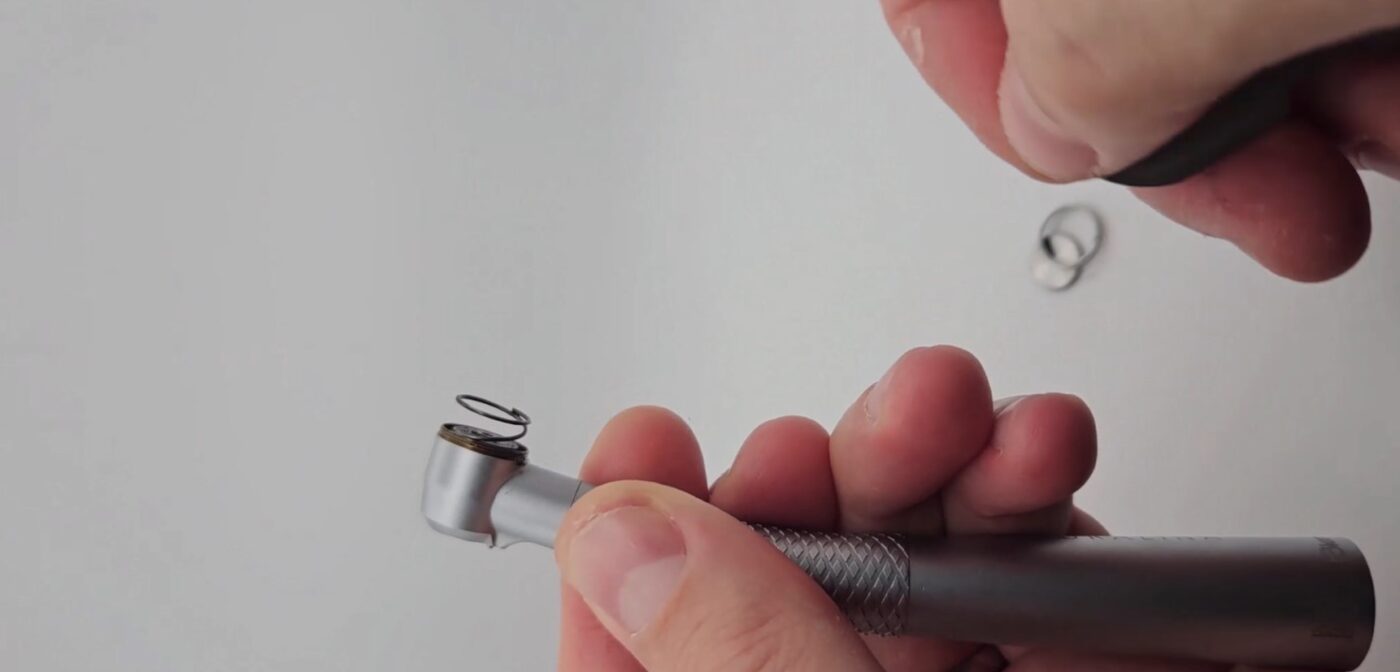
Now we are extracting the old original, not the back cap we’re extracting the rubber washer also we extract the O-ring which must be trashed because every time when you replace a new turbine rotor on Bien Air or also on other turbines you must replace it with new O-rings.
You must be careful and notice when you extract the lower parts you must be careful how to extract because as you see we have a steel washer and also a rubber washer.
Extract of O-rings and Washers
Remove of O-rings and Washers.
We are proceeding to extract the washer from the push button/press button also now we are extracting the O-ring that we are throwing. After we have to proceed with the cleaning of the whole head because it’s very important otherwise when we insert a new turbine rotor at high speed pushed by pressured air all this dirt will be spread on the new turbine and the life of the new Bien Air turbine will decrease drastically.
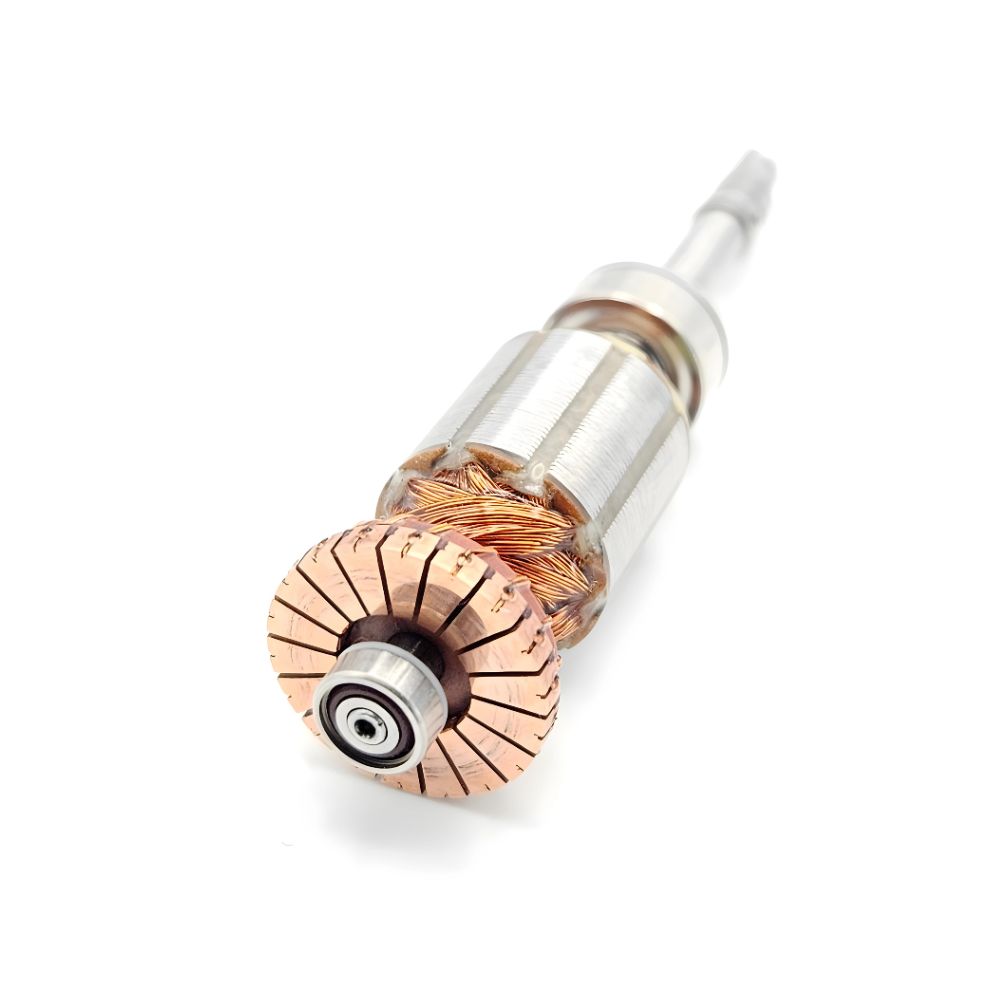
Here’s the turbine rotor how we Supply as you see it comes with O-rings in the kit and these are completely new Ceramic MYONIC Bearings (original KaVo, Sirona bearings). Let me explain that MYONI is the original KAVO supplier for this Brand and today are the most reliable and high-quality Bearings.
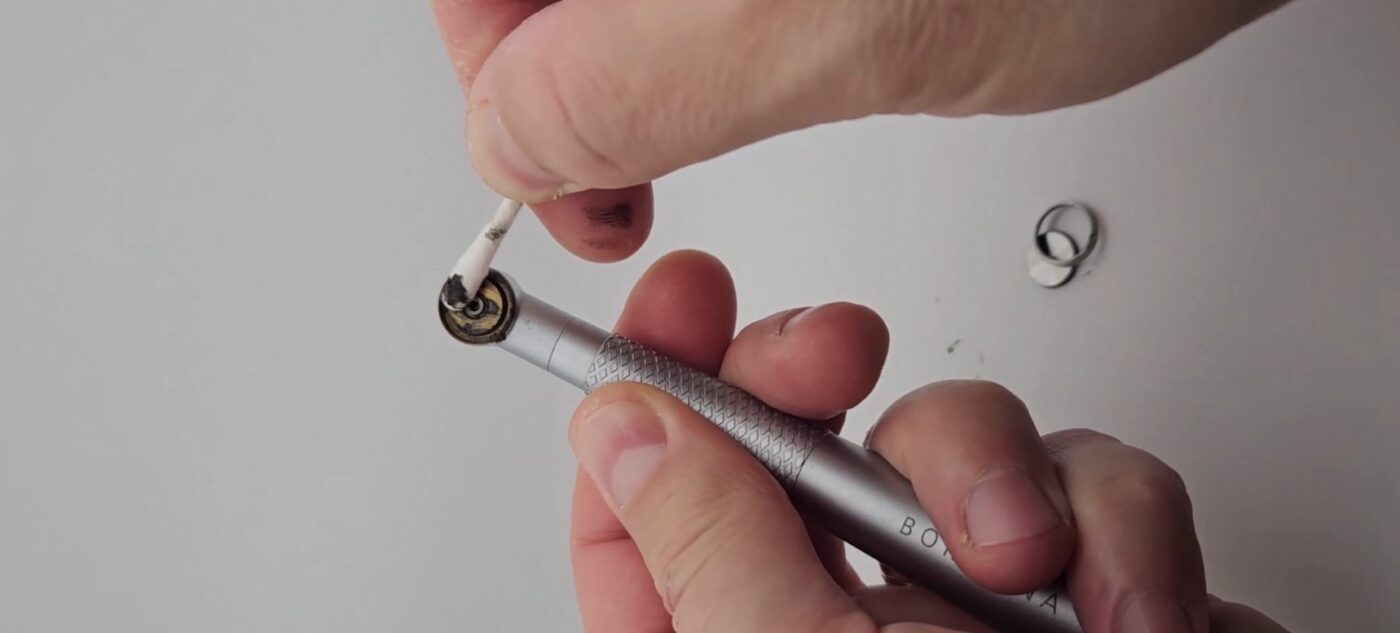
Cleaning Internal Parts
In this way, we are cleaning the rubble washer and the steel washer cuz you want all the components to be cleaned before inserting a new Bien Air turbine cartridge.
In case you want to reuse the Original Parts I mean the original Back Cap composed of 4 components like external back cap, spring, and inner cap then you must clean very well all parts like we are doing in this video but this makes it much more difficult and takes more time.
Assembly of Dental Turbine
Inserting Back O-rings
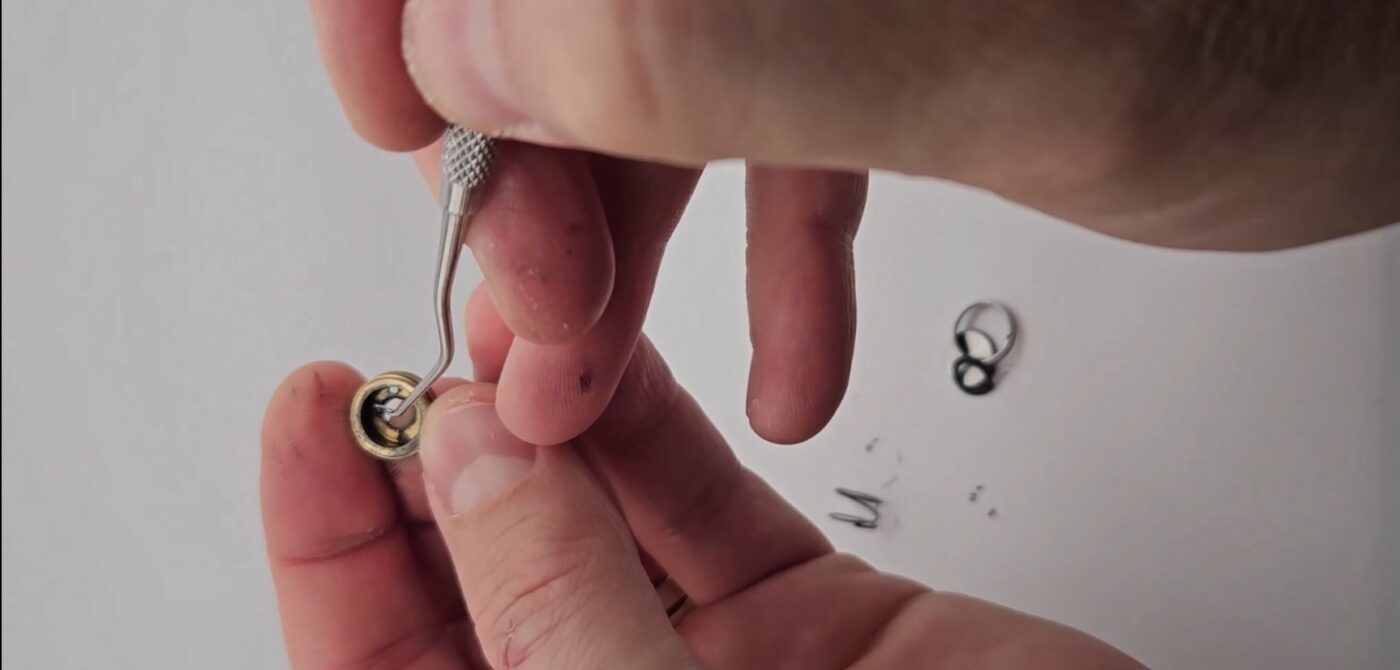
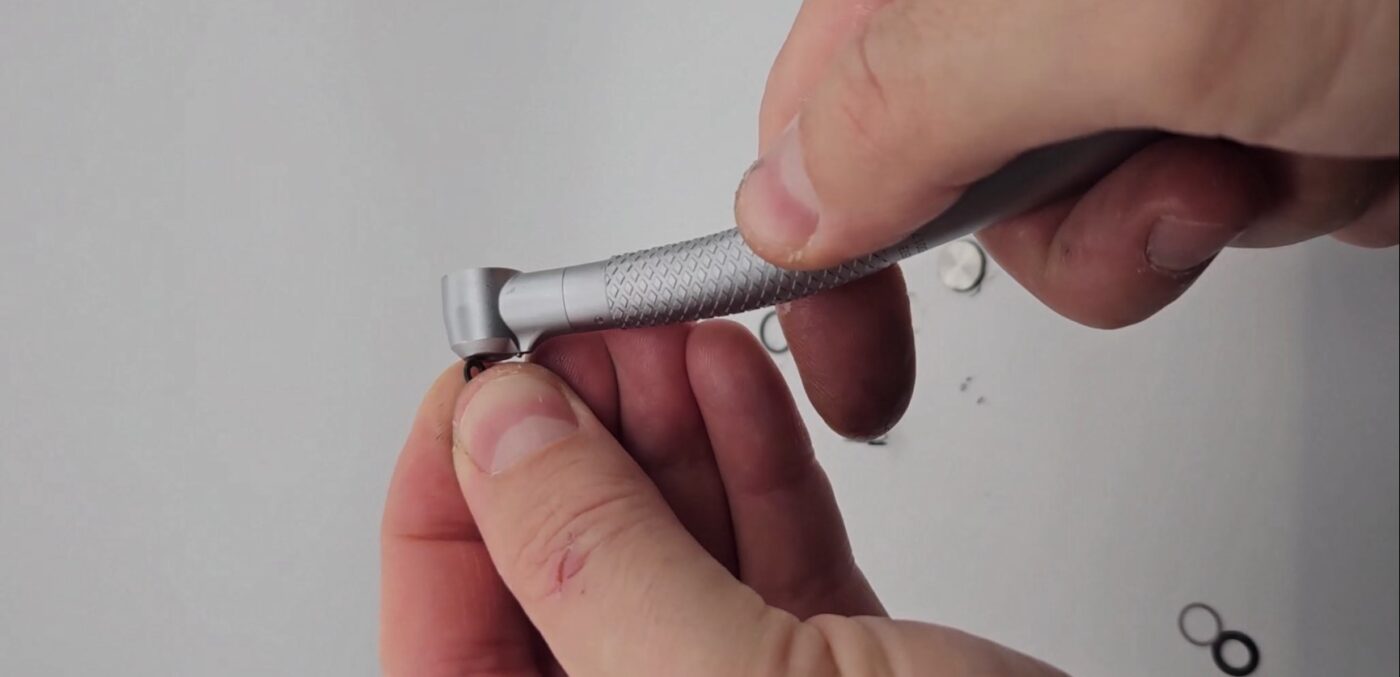
Now we have to insert back this rubber washer and now I’m showing you how I am inserting the o-ring which is a little bit more difficult but as you can see we insert from down to up this small hole and we are supporting with an explorer to fix it and after with instrument we have been set to its place.
We are using our way to insert it easily and quickly through the low part of the head of the turbine so this method works very well for us as you can see it’s really very quick and you don’t need any other equipment. Then we put back back rubber washer throwing it back washer.
Usually, this process is much quicker but because we are demonstrating you in front of the camera takes a little bit longer.
See below in this video for the full process of how we extract and assemble O-rings on the dental turbine.
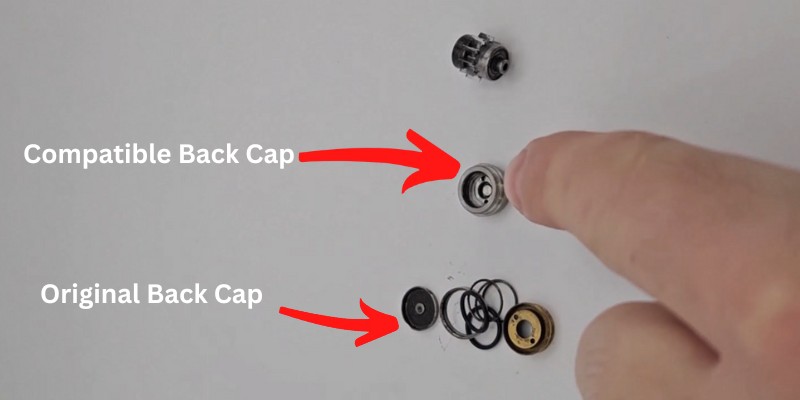
Compatible Bien Air Push Button
This is the quickest, cheapest, and easiest solution for you Bien Air Turbines [ TESTED ] !!!
Now we will show the solution which we offer. This Back Cap is developed by our European partner which supplies our parts and manufactures this component like the push button/press Button.
